Tools
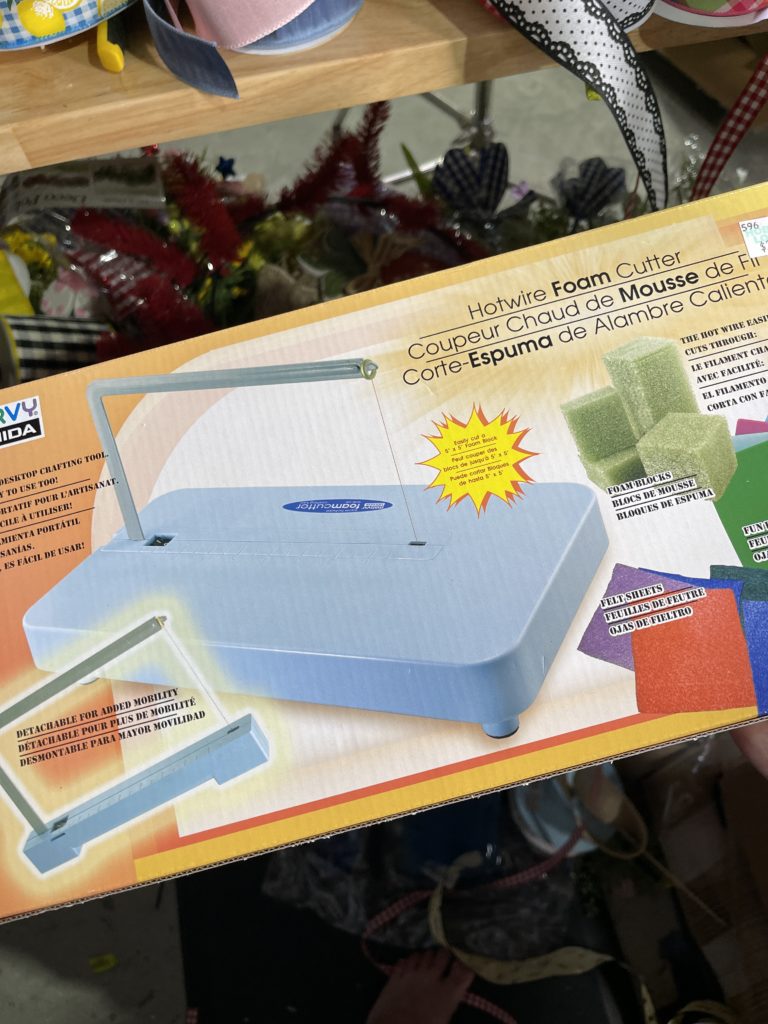
- Foam Cutter
- This is the one I use: https://amzn.to/3eNPNom
- This is another type that I have: https://amzn.to/3vv8x1X
- You can also use a large bread knife to “saw it”
- Foam Paint Brush: https://amzn.to/3vsxtqJ
- Wax Paper (helps contain the mess): https://amzn.to/3cGclok
- Glue Gun
- Super Glue
Supplies
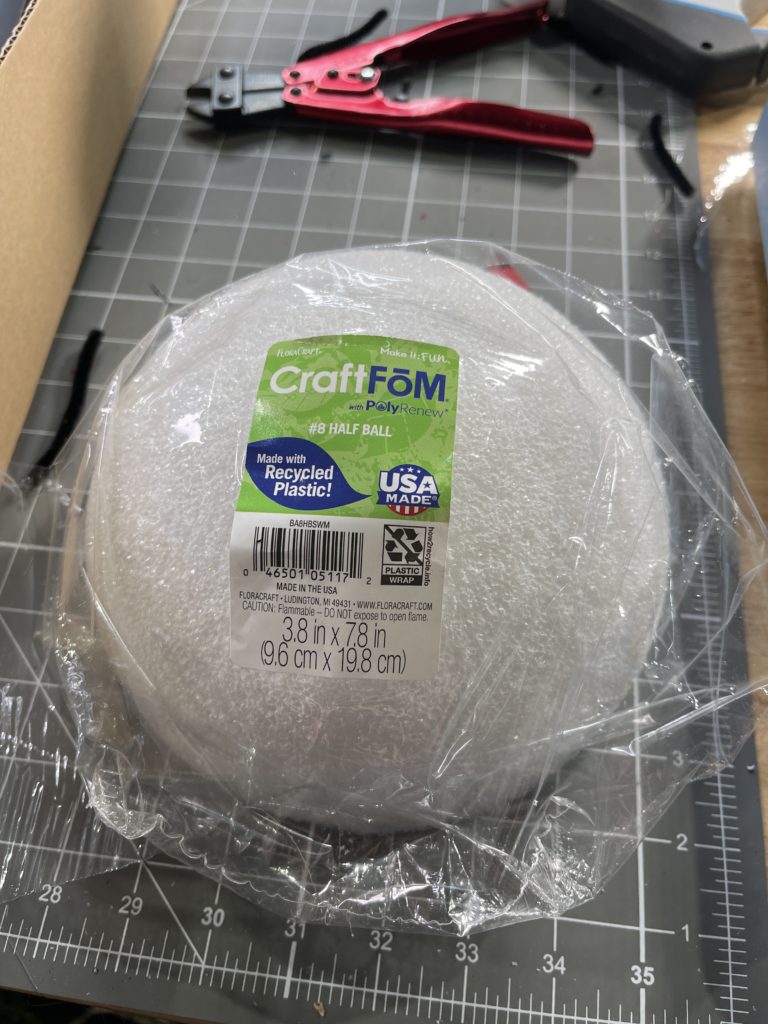
- 1 ea Half Round Foam Styrofoam Polystyrene Ball (8 Inch) for Crafting Painting Drawing – https://amzn.to/38KX2tu
- 1 ea Smooth and Durable 3” White Craft Foam Polystyrene Round – https://amzn.to/38KKjqx
- Black Paint – https://amzn.to/2OTaRyV
- Mod Podge – https://amzn.to/3eJJyCb
- Skewers – https://amzn.to/2OuhbNF
- Sealant – https://amzn.to/3qTVpjt
- Pipe cleaners – https://amzn.to/2OvfEa8
- U Pins – https://amzn.to/3qPWxEM
Instructions
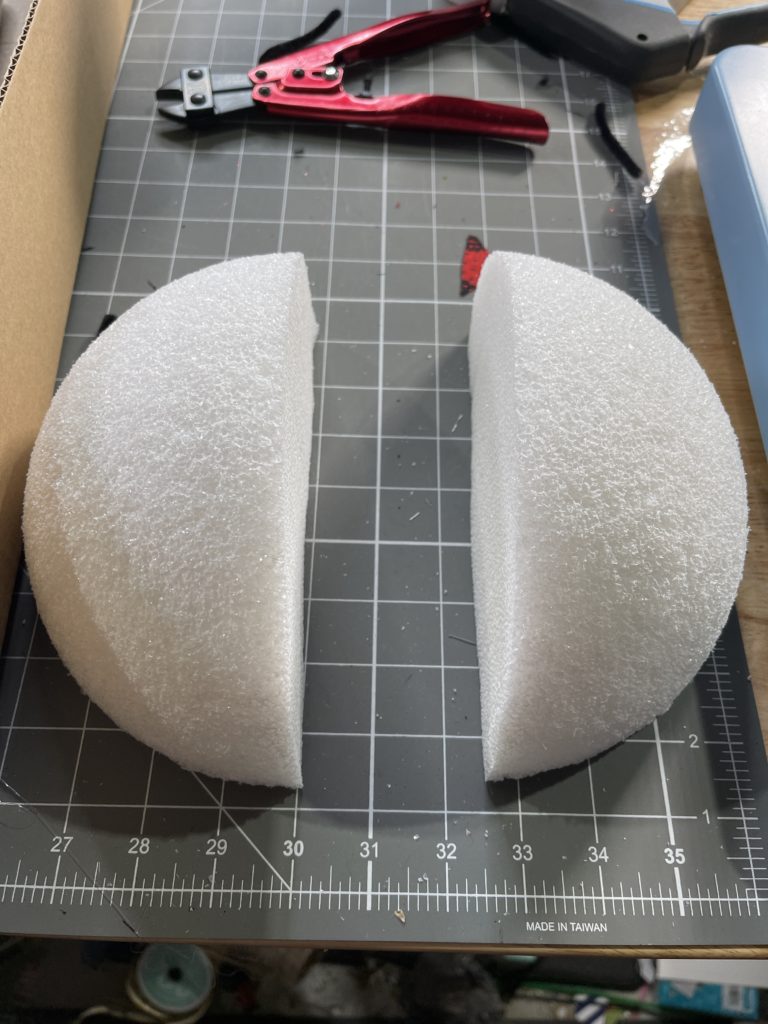
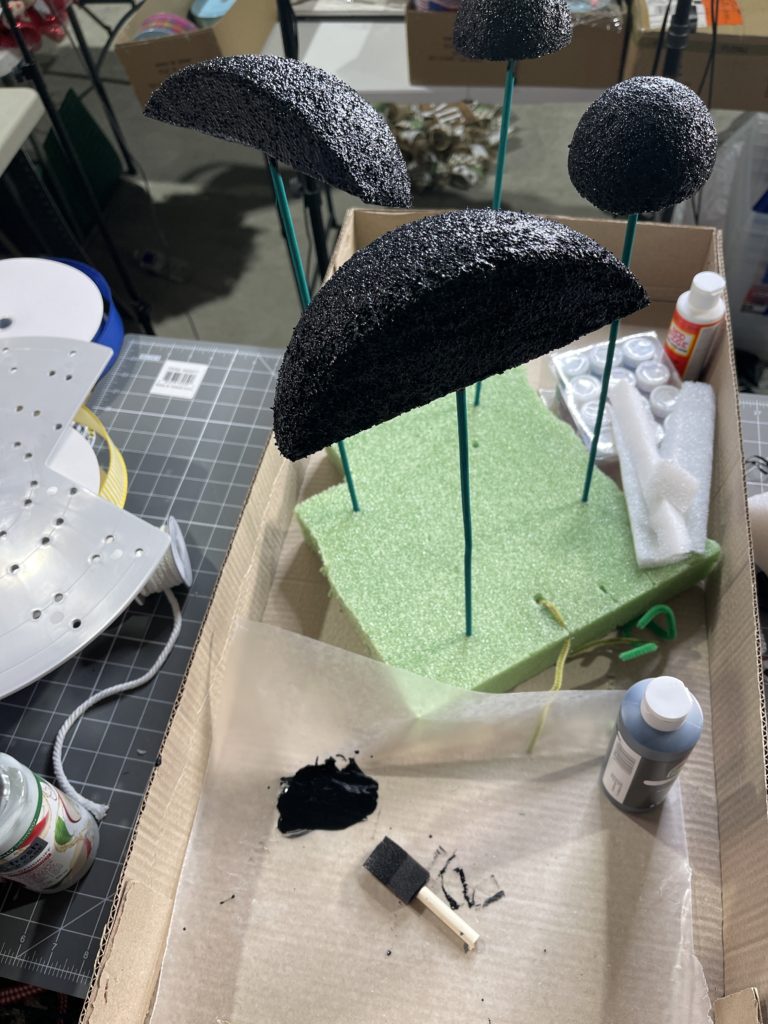
Step 1: Cut the larger Styrofoam ball in half. I use my hot wire foam cutter to do it!
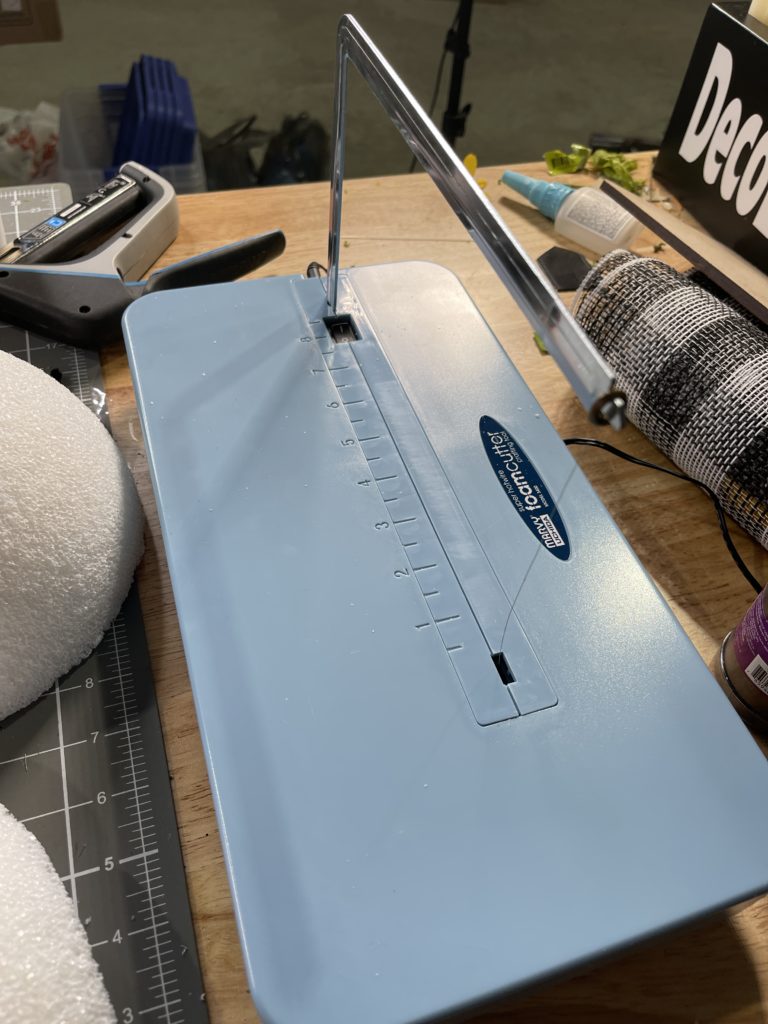
It works really neat and makes a really “clean” cut here’s a great example:
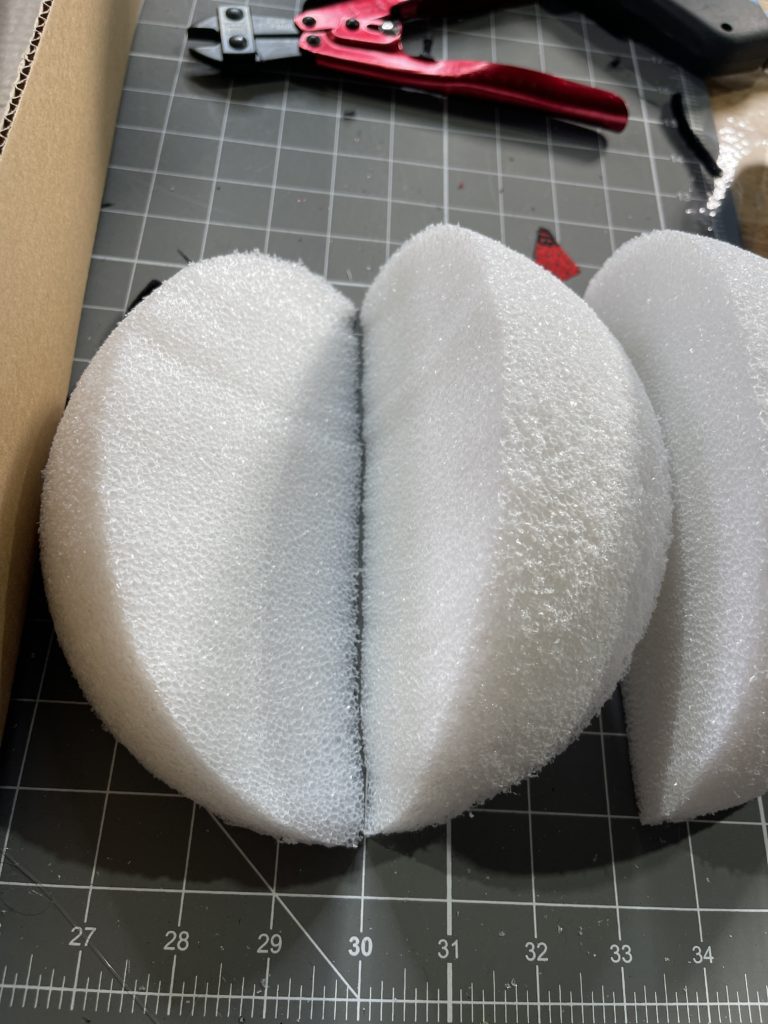
Step 2. Cut the 1/2 in 1/2.
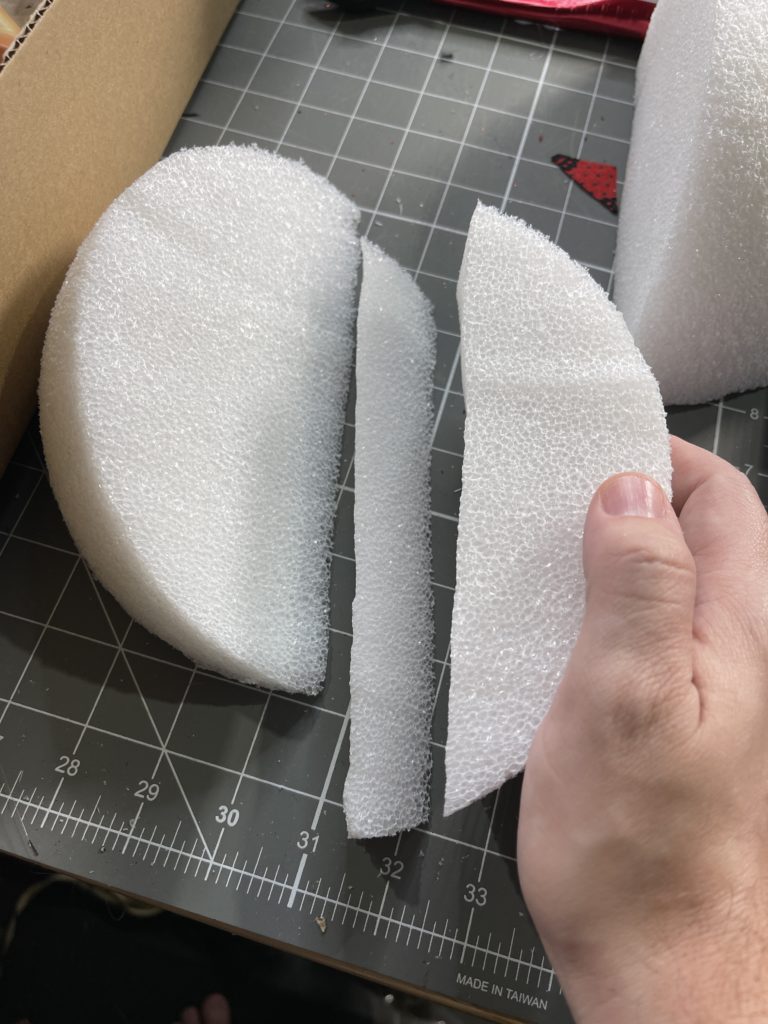
Step 3. Cut off the “pointed” / wedge base so that you have a flat edge
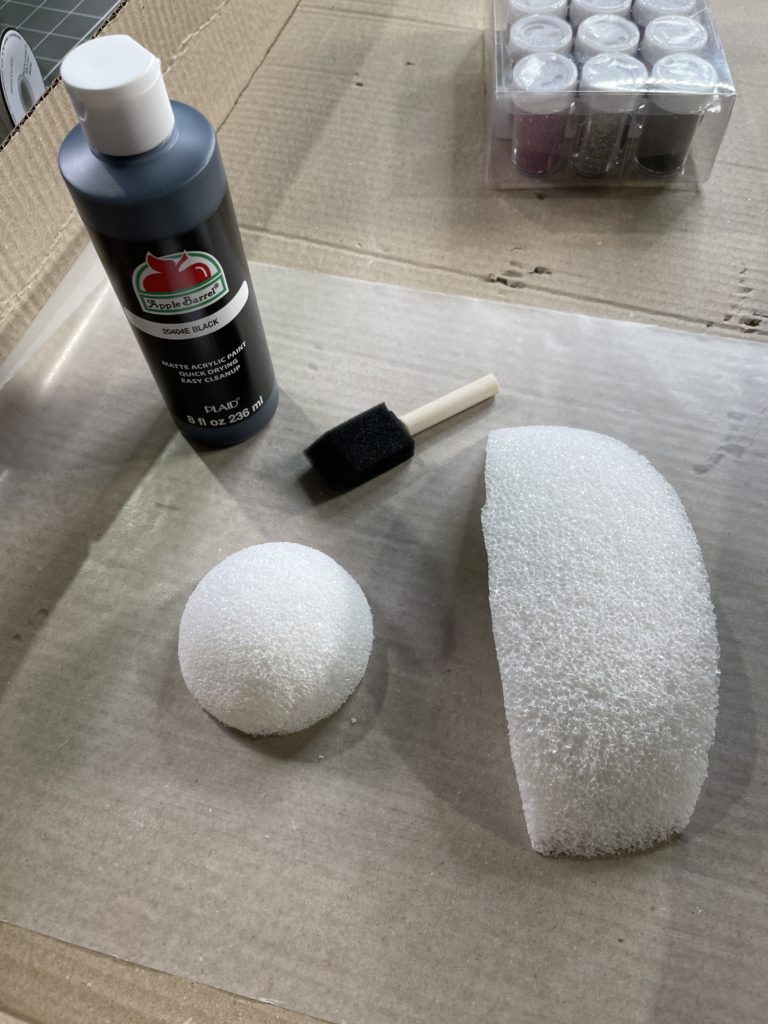
Step 4. Take your smaller circle and cut it in half.

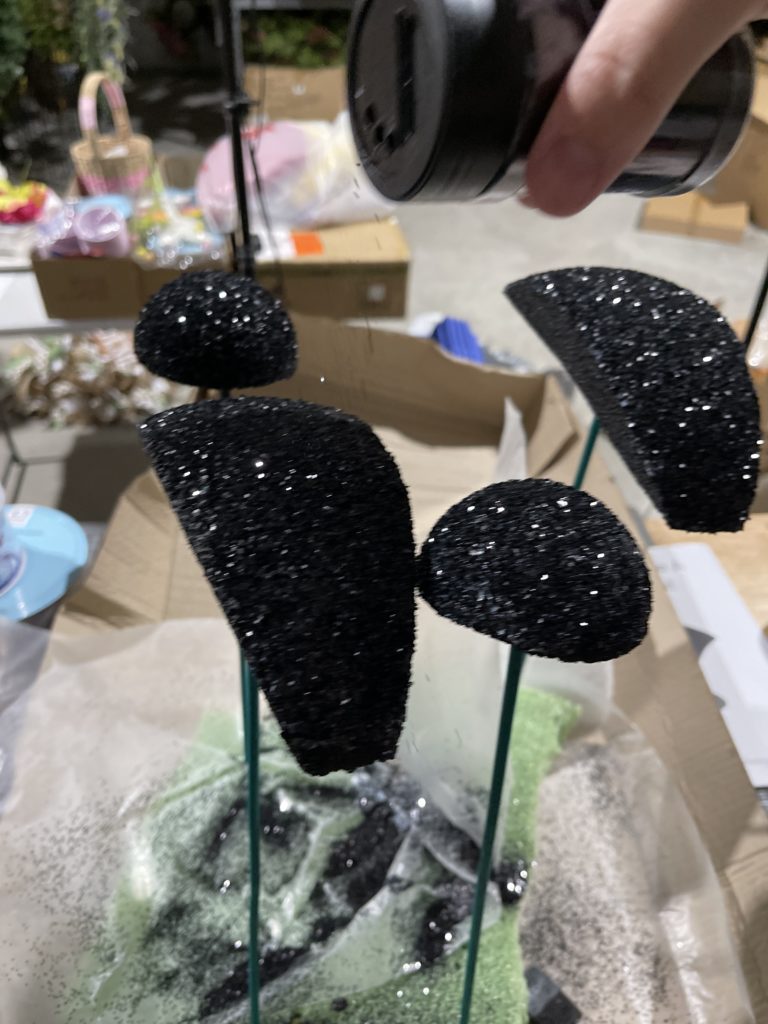
Step 5. Now we’re ready to paint! Take a sheet of wax paper and cover your table (this makes it easy to clean up after!) Use your foam brush to dab black paint all over the foam pieces. I put my pieces on a skewer so that I wouldn’t have to grab the wet paint. Once painted I put the skewer into a larger foam block to hold them in the air until they dried.
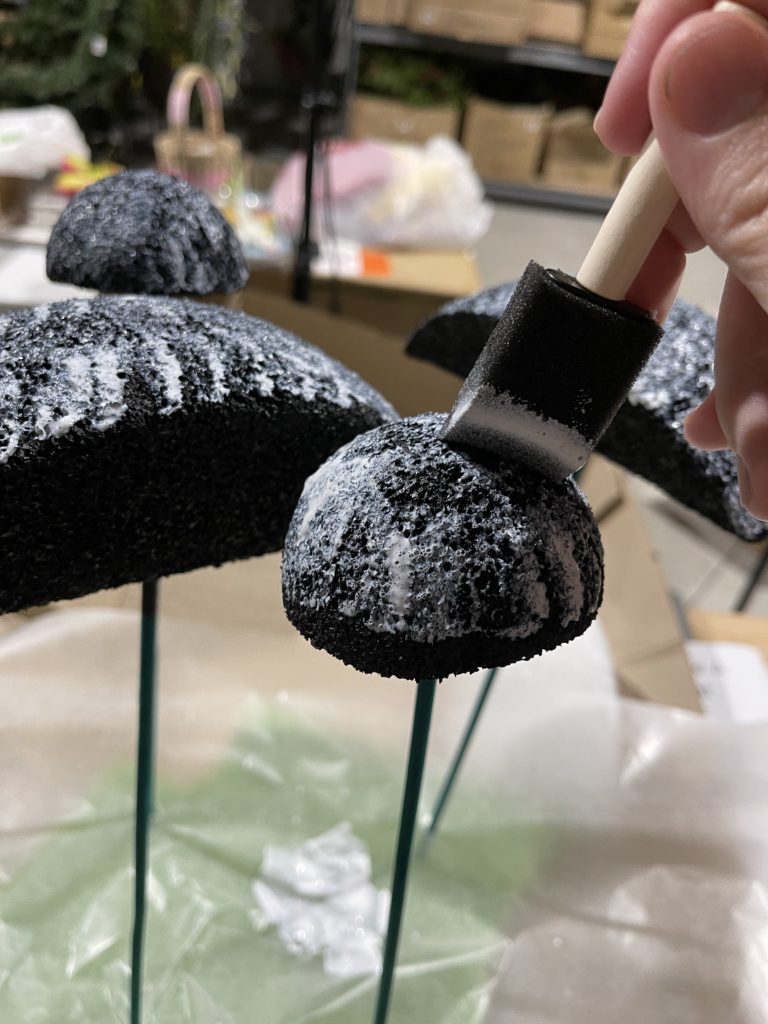
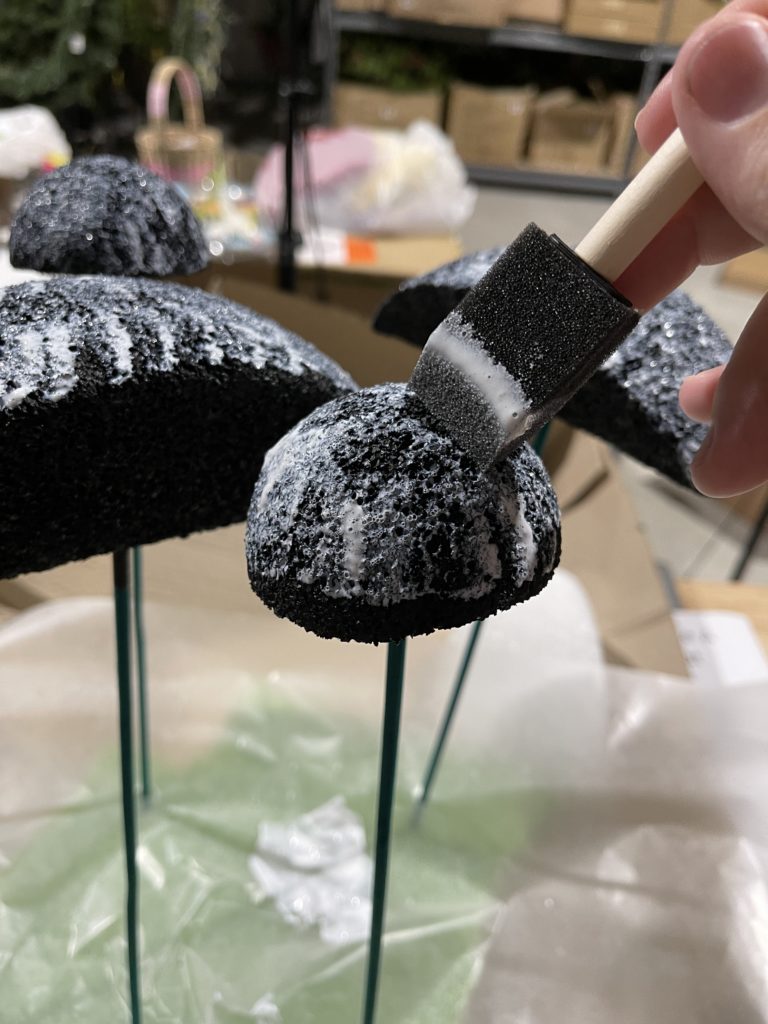
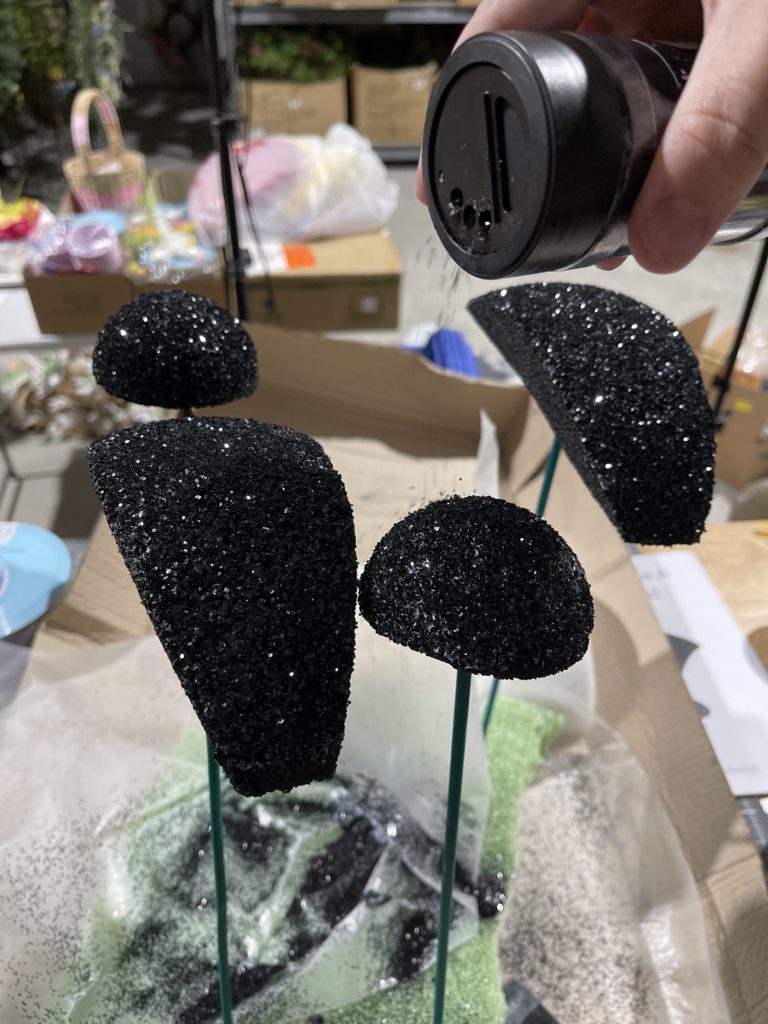
Step 6. Once completely dry you can use them like this or you can add mod podge and glitter them. To add the mod podge, just use another foam brush and blotch the mod podge all over the body. Sprinkle with glitter.
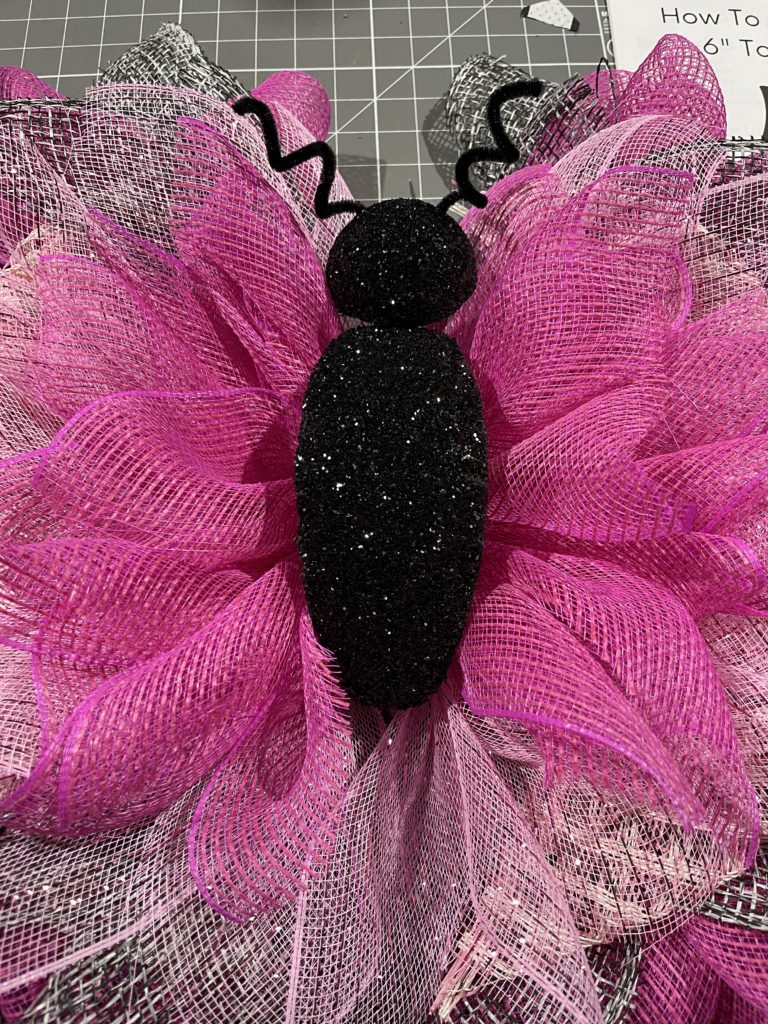
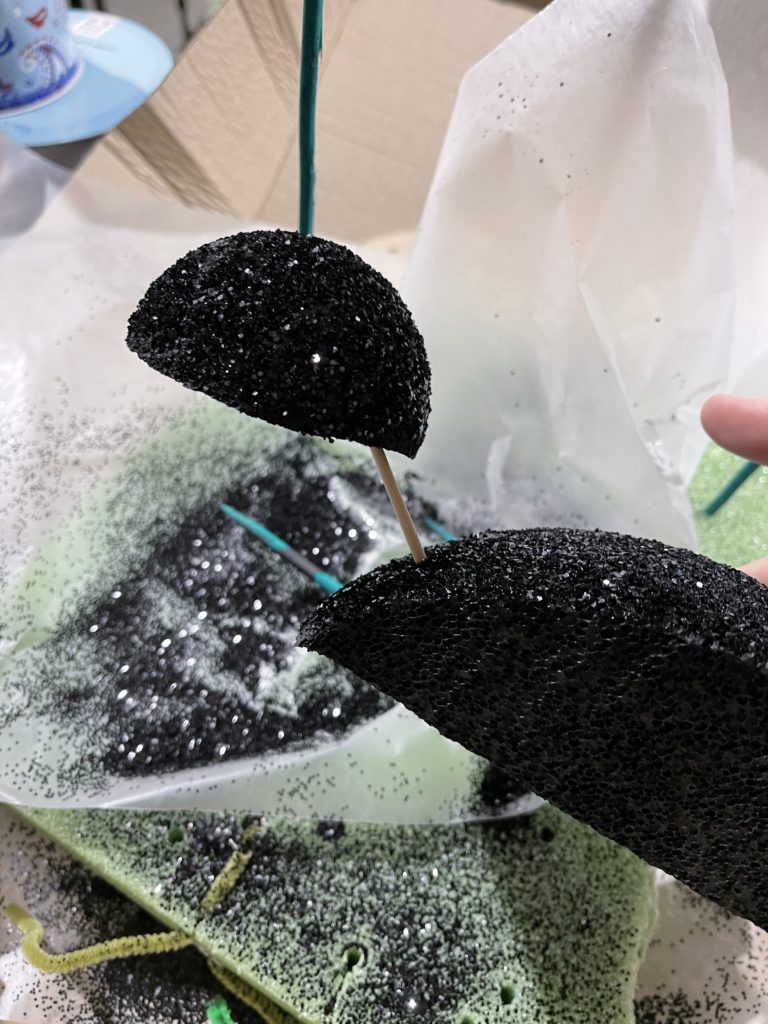
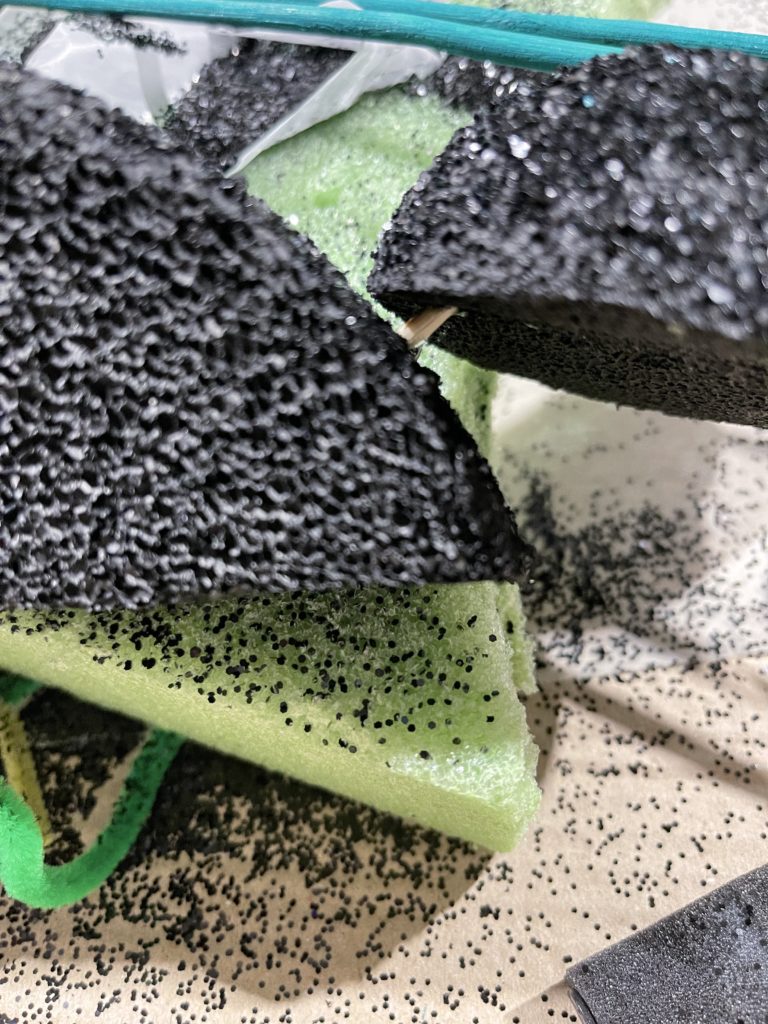
Step 7 – Once dry assemble your two body parts with a skewer running through the two pieces of foam. I added superglue gel to the skewer as I slid the two pieces together. Make sure your skewer doesn’t come out of the top of the head.
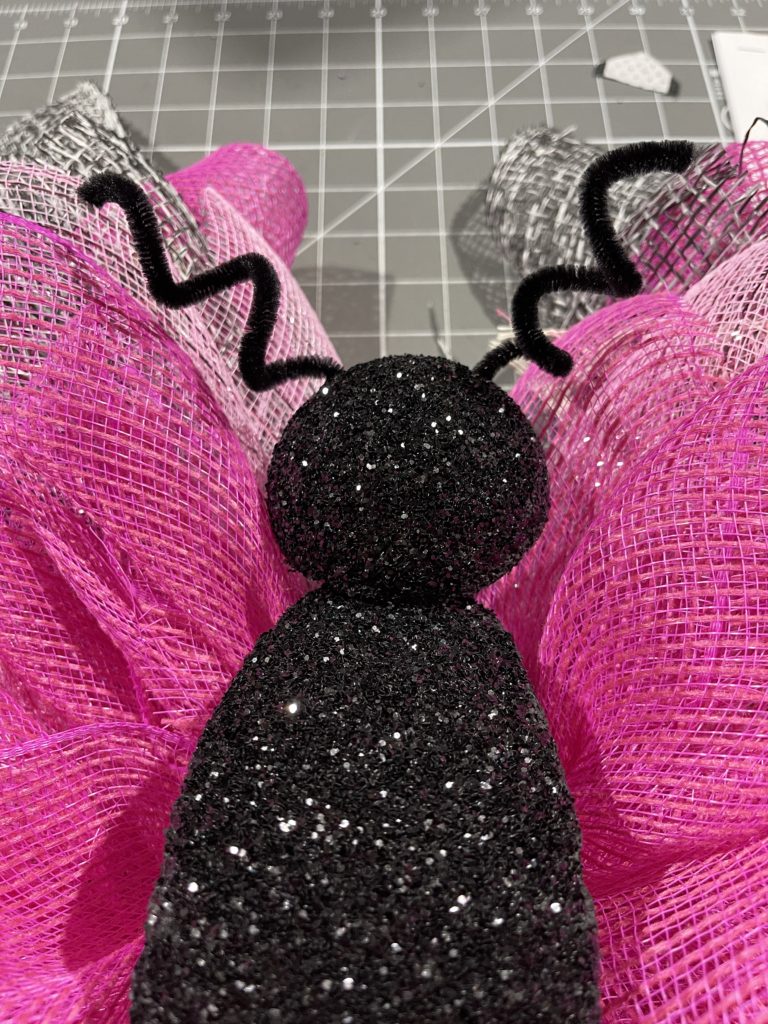
Step 8- You can use your skewer to poke two little holes into the head and add your pipe cleaners in it for antennas (I missed getting photos of this step)
Step 9 – You can use a clear sealer that doesn’t “eat” your foam. I would do this outside or in room with a lot of fresh air. (I missed getting photos of this step)
Step 9 – Once dry from sealing you can use the U Pin you can add a few pipe cleaners to the bottom to use an attachment into your project. (I missed getting photos of this step)
I made the project on the UITC wing board – https://www.decoexchange.com/products/uitc-wing-wreath-board-uitc-wing
If you enjoyed this DIY project you’re going to want to join us this weekend for the Expand Your Creativity Challenge!
THE EXPAND YOUR CREATIVITY CHALLENGE
Hosted By The Makers University Creative Coaches
& Special Guest Dereka Hill
Learn to make multiple designs that you can list for sale or add into your own creations for your own home or a clients home…
What is the Expand Your Creativity Challenge?
It’s a full day of classes from 5 designers with their own unique styles and techniques. Each designer will show you how to create an item that can be used in your own creations or that you can list for sale.
We have the following items to teach you:
Rag Bows
Rag Garlands
Mini Top Hats
Wreath Signs
Accent items & More
When is the Expand Your Creativity Challenge?
The Expand Your Creativity Challenge will be held on 3/19/21 – 3/20/21. You will keep access to all of the training videos to re-watch as needed. After the challenge is completed we will transition the training into the training portal for you to easily access.
Things you’ll learn…
How we shop for, make, and choose different items to be used
A list of places to buy quality supplies
A unique design by Damon Oates from DecoExchange
A unique design by Mellie Mel from Sincerely Creative Mom
A unique design by Jacquelyn Koch from The Fancy Front Door
A unique design by Jordan Matthew from Designs By Jordan
A unique design by Tammy Hodges from Polka Dot Wreath Co
A unique design by Dereka Hill from Dereka’s Designs
What you’ll get…
At least 5 detailed tutorials
How you’ll get it?
A private Facebook group where the lives will be streamed or videos posted
The learning portal where all information will be stored for you to access at any time
How to join in on the Expand Your Creativity Challenge