Tools
- Cricut
- Weeding pen
- Tweezers
- Cricut scraper
Supplies
- Door Mat Blank – Amazon
- Acrylic Paints – Hobby Lobby
- 651 Vinyl – Michaels
- Clear Coat Spray – Walmart
Full Video

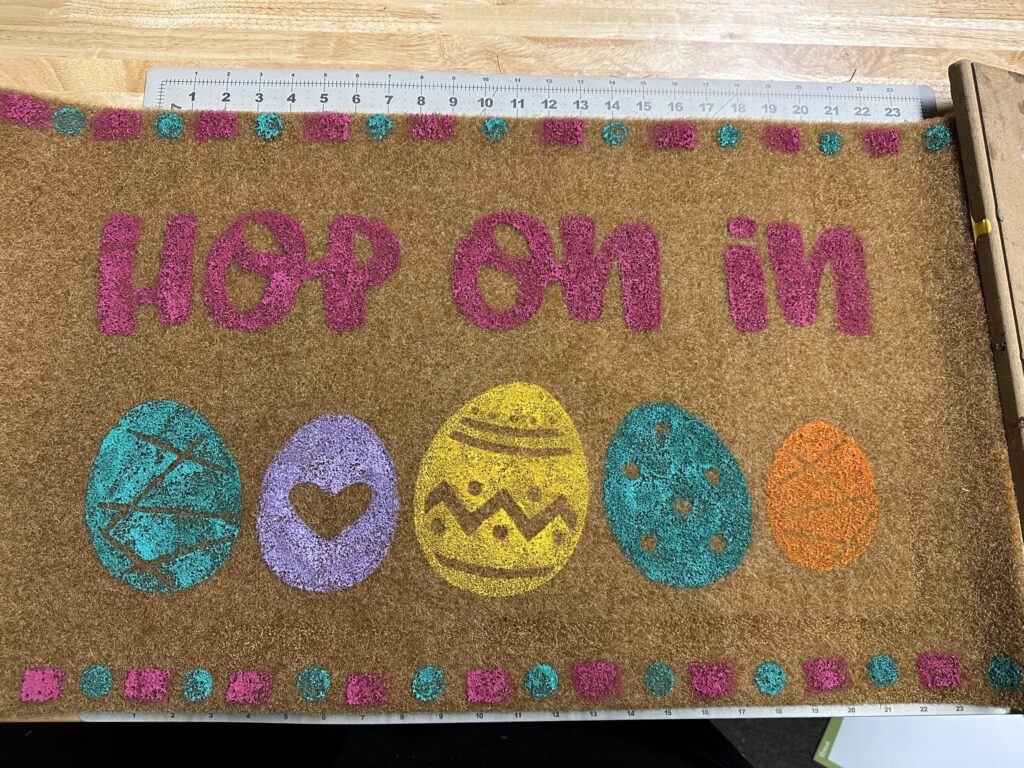
Cricut Project: Easter Welcome Mat
Equipment
- Cricut
- Weeding pen
- Tweezers
- Cricut scraper
Materials
- 1 Door mat blank Amazon
- Acrylic paints Hobby Lobby (Americana or Folk Art are my favorites)
- Cricket permanent vinyl Michaels
- Clear Coat Spray Walmart
- SVG File for your design
- Tape
Instructions
In Cricut
- Upload your SVG design into My Design Space in Cricut
- Click Make It
- Select On Mat (12' x 24") - Note your image cannot be wider than 12"
- Click continue
- You'll be using Cricket permanent vinyl, select vinyl permanent glossy.
- Load your vinyl when Cricut is ready.
Prep
- Use tape to get any loose fuzz on the mat surface.
- Shake up your paints
- Once your Cricut cutting is complete, click done.
- Keep that design on the screen for reference when you weed because we're making a stencil.
- In a well lit area, weed out design to create negative space. Use the black area on you screen as a guide to what you'll be weeding out.
- Peel off contact paper and add a little fuzz by sticking it to your clothing. (Just trust me on this one)
- Now lay that contact paper back over your stencil avoid air bubbles.
- Use your Cricut scraper and push out air bubbles.
- Peel off the stencil, while still attached to contact paper
- Scrape as needed so all the inner pieces are attached.
- Place your stencil on top your mat
- Slowly remove contact paper.
- Press down your stencil.
- You can add any stray pieces of your stencil with excess contact paper.
- Press into the corresponding areas on your mat
- Use a heat gun to flatten stencil on mat
- Add masking tape to top and bottom edges of your stencil
Design
- Paint in your stencil with your desired colors
- Add additional layers to get bright colors
- Peel off stencil
- Use tweezers to remove smaller stencil parts
- Add hash marks using a square line brush around the top and bottom
- Optional: Add polka dots in between hash marks
- Give it a once over with a heat gun and let it dry naturally.